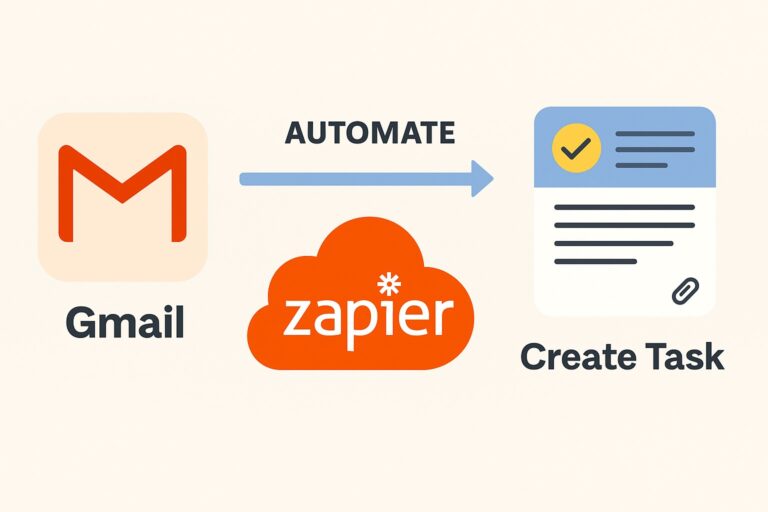
Managing tasks manually can be stressful when your inbox keeps filling up with new emails and attachments. You may receive invoices, project files, or reports that need follow-up actions, and creating separate tasks for each one takes time. This is where automation tools like Zapier become a game changer.
In this beginner’s guide, you will learn How to Use Zapier to Automate Task Creation from Gmail in a simple, step-by-step way. Even if you have never used Zapier before, this tutorial will help you save time, stay organized, and improve your daily workflow without writing a single line of code.
What is Zapier and How It Helps You Work Smarter
Zapier is an online automation tool that connects different apps and services together. It allows them to communicate and perform actions automatically. The best part is that you do not need any technical skills or programming knowledge to use it.
Zapier uses something called “Zaps.” A Zap is a small workflow that connects two or more apps. Each Zap has two parts: a trigger and an action. The trigger is what starts the automation, and the action is what Zapier performs as a result.
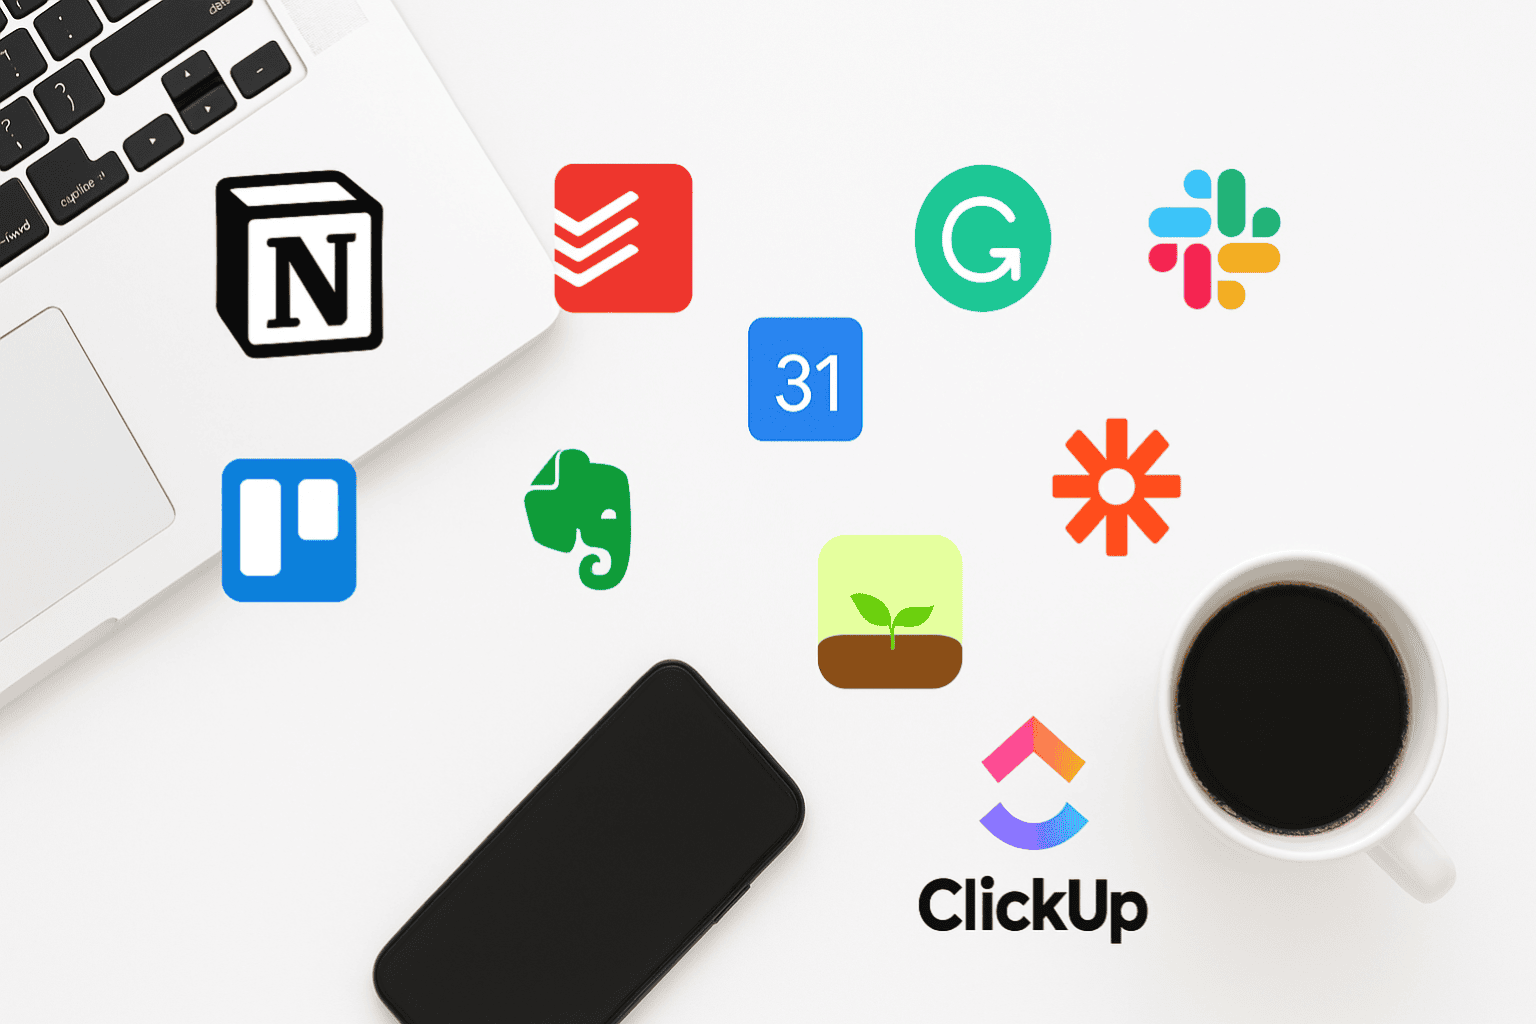
For example, when you receive an email in Gmail that includes an attachment, that event becomes the trigger. You can then set the action to automatically create a task in another app like Google Tasks, ClickUp, or Asana.
By setting up this automation, every time you get an email with a file, Zapier will instantly add it as a new task — no manual copying, no forgotten follow-ups.
Why Automate Task Creation from Gmail Attachments
Before jumping into the setup, it is important to understand why automating this process can make such a big difference.
- Save Valuable Time
You can avoid the repetitive process of opening each email and creating tasks manually. Automation does the work for you. - Stay Organized Without Effort
Every file you receive can automatically become a task with the email subject and attachment details, helping you track progress easily. - Reduce Human Error
Manual work often leads to mistakes like missing attachments or forgetting to create tasks. Automation ensures nothing is overlooked. - Boost Productivity
You can focus on completing tasks instead of managing them. Over time, these small automations can save hours every week.
In short, automation helps you work smarter and maintain consistency in your workflow.
Read our full guide to the must-have productivity apps for 2025.
Step-by-Step Guide to Using Zapier with Gmail
Now let’s go through the complete setup to use Zapier to Automate Task Creation from Gmail.
Step 1: Sign Up or Log In to Zapier
Start by visiting Zapier.com. If you do not already have an account, you can create one for free. The free plan allows you to test and use basic Zaps. Once logged in, click on “Create Zap” from the dashboard.
Step 2: Choose Gmail as the Trigger App
In the “Trigger” section, search for Gmail and select it.
Then choose “New Attachment” as the trigger event. This tells Zapier to activate the Zap whenever you receive an email with an attachment.
After selecting the event, click Continue.
Step 3: Connect Your Gmail Account
Zapier will now ask for permission to connect with your Gmail account. Click on Sign in to Gmail and authorize access. Zapier uses secure Google authentication, so your data remains safe.
Once connected, choose your Gmail account and proceed.
Step 4: Set Up the Trigger Details
Here you can define specific conditions. For example, you can choose to trigger the Zap only when the email comes from a certain sender or contains specific keywords like “invoice” or “project.”
This helps you automate only the emails that matter most to your work.
Step 5: Test the Gmail Trigger
Zapier will ask you to test the trigger by fetching a recent email with an attachment. If everything is set up correctly, you will see details like the email subject and attached file name. Click Continue when the test succeeds.
Step 6: Choose Your Task Management App as the Action
Next, it is time to select where your new task will be created. You can choose from a variety of apps, such as:
- Google Tasks
- Asana
- Trello
- ClickUp
- Todoist
Once you choose the app, select the appropriate action event such as “Create Task” or “Add Card.”
Step 7: Connect Your Task App
Just like Gmail, you will need to connect your task management app account. Sign in and authorize Zapier to access it.
Step 8: Customize the Task Details
This is the most important step. You can tell Zapier what information should appear in your new task.
For example:
- Task Title: Use the subject of the email.
- Description: Include the email body text.
- Attachment: Add a link to the Gmail file or mention that the file is attached in the original email.
- Due Date: Set a default timeframe like “tomorrow” or “in three days” if you want every new task to have a deadline.
This setup ensures that every task includes all the key details automatically.
Step 9: Test and Turn On Your Zap
Click Test Action to make sure the automation works as expected. If the test is successful, Zapier will show a confirmation message.
Finally, click Turn on Zap to activate it. From now on, every time you receive an email in Gmail with an attachment, Zapier will automatically create a task in your chosen app.
Tips to Make Your Zap Work Smoothly
- Use Filters Wisely
Not every email with an attachment deserves a task. Add Gmail filters in your Zap so that it only triggers for specific senders, subjects, or labels. - Keep Your Zaps Organized
Name your Zaps clearly so you can easily identify them later. For example, “Create Asana Task from Gmail Attachment.” - Regularly Review Your Automations
As your workflow changes, check your Zaps every few months to make sure they still match your needs. - Test Before Relying on Automation
Always test a new Zap before using it daily. It helps you catch small issues early. - Combine Multiple Zaps for Maximum Efficiency
You can chain automations together. For instance, after creating a task, Zapier can also send you a Slack message or save the attachment to Google Drive.
Real-World Example: How It Can Help You
Let’s imagine you are a freelancer managing multiple clients. Each time a client sends a document, such as a project brief or invoice, it lands in your Gmail inbox.
With automation set up, Zapier detects that the email contains an attachment, creates a new task in ClickUp titled with the email subject, adds the sender’s name, and links the Gmail message for easy access.
You do not have to touch anything manually. Your tasks are instantly organized, and you can focus on completing them instead of setting them up.
Common Problems and Quick Fixes
Even though Zapier is simple to use, you might face minor issues at first:
- Problem: The Zap did not trigger.
Fix: Make sure the Gmail trigger has the right filter and that the email actually contains an attachment. - Problem: Task app not updating.
Fix: Reconnect your task management app in Zapier to refresh permissions. - Problem: Duplicate tasks.
Fix: Add filters or unique identifiers like message IDs to prevent duplicates.
Once these are sorted, your automation will run smoothly in the background.
Final Thoughts
Learning How to use Zapier to Automate Task Creation from Gmail can completely transform the way you handle your emails. Instead of wasting time manually creating tasks, you can let automation handle it while you focus on more meaningful work.
Zapier makes complex workflows simple for anyone to set up. With just a few clicks, you can connect Gmail and your task management tools, ensuring every important email becomes a well-organized task.
Whether you are a student managing assignments, a small business owner keeping track of documents, or a freelancer working with multiple clients, this automation will make your day more productive and stress-free.
Start with a basic Zap today, and once you feel comfortable, explore advanced automations. The possibilities are endless when you let technology do the repetitive work for you.